How I Set Up IPTV on a Firestick With an Xtream Codes Login
Updated 21 July 2026 · The full UK walkthrough, from the remote control to kickoff
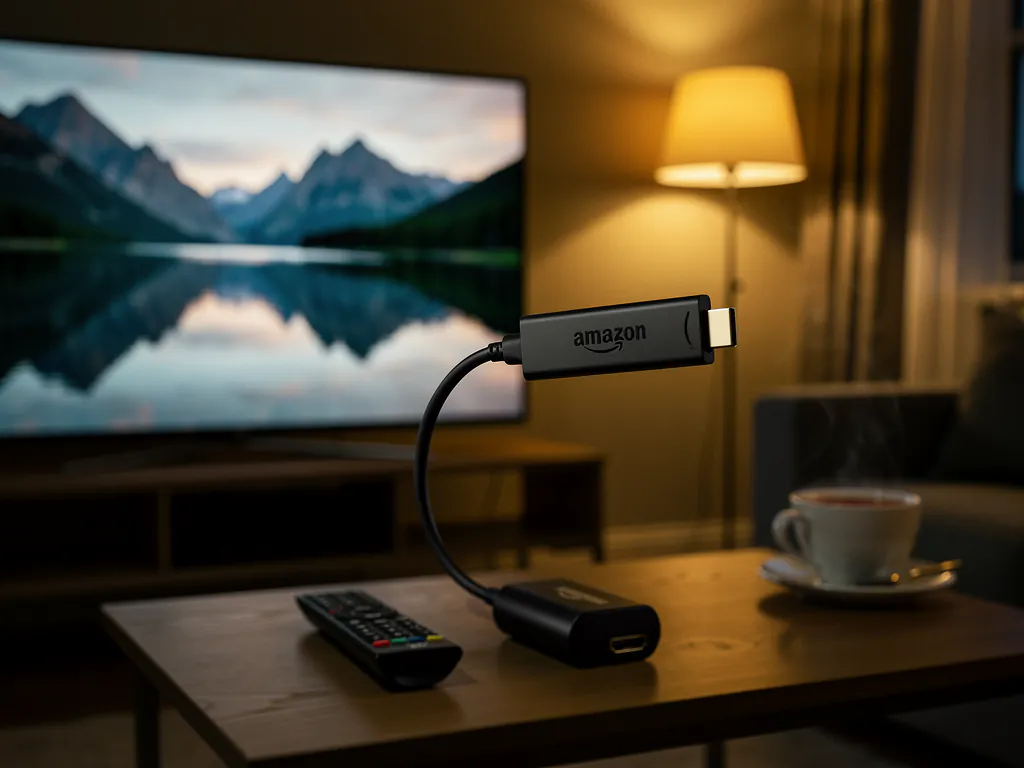
If you have ended up on this page, I am going to guess you have just grabbed a 24-hour free trial or an activation email, you are staring at a Firestick, and you are wondering how on earth you actually get the thing loaded. I remember that feeling. The first time I tried to set up IPTV, I ended up on some forum thread full of jargon about M3U links and port numbers, convinced the whole thing was beyond me. It is not. The honest truth is that once you know the path, it is one of the dullest ten-minute jobs you will do this week.
This walkthrough is the exact method I use on my own Fire TV Stick 4K Max, and the one I have talked friends and family through more times than I can count. It uses an Xtream Codes login rather than pasting a long playlist link, because that single choice is what gives you the live channels, the films, the box sets, and the programme guide all in one clean menu. If you want the wider picture on choosing a service first, my full UK guide covers the lifetime box scam and the basics, and this page is the practical deep dive for getting it onto your telly.
What you need before you touch the remote
Gather these four things first. Having them ready is the difference between a ten-minute install and an hour of annoyed back-and-forth, because the one thing that slows everyone down is hunting for a password halfway through.
- A Firestick, any generation. The Stick Lite, the standard Fire TV Stick 4K, and the Fire TV Stick 4K Max all work. The 4K and 4K Max are the better picks for live sport because they have more memory and better WiFi, which genuinely helps the stream stay stable.
- Your activation details from your provider. Three bits: a username, a password, and a server URL. You get these in an email the moment your trial or subscription is created.
- Your WiFi password, in case the Firestick asks you to reconnect during the setup.
- About ten minutes. The install plus the first programme guide load fits inside that on a normal broadband connection.
One small thing that bites people. Plug the Firestick into a proper wall charger using the cable that came in the box, not the USB port on the back of the telly. A lot of television USB ports do not push enough power, and an underpowered stick is the hidden cause of random reboots and flaky streams that people wrongly blame on the provider.
Why an Xtream Codes login beats an M3U link
Before the steps, a quick word on the login method, because this is where most newcomers pick the wrong option and end up frustrated. When you open a player app for the first time, it usually offers you two ways in. One is a playlist link (an M3U URL), which is a long web address you paste by hand. The other is the Xtream Codes API, which is those three pieces of information I mentioned.
Always pick Xtream Codes when you have the choice. A playlist link loads your live channels and nothing else, and it tends to be fiddly to keep in sync. An Xtream login pulls live TV, films, series, and the full electronic programme guide in one go, so you get a proper menu with what is on now and what is coming up next. It is the difference between a clunky list and something that actually feels like a TV package.
| Login method | What you get | My take |
|---|---|---|
| Xtream Codes API | Live TV, films, series, and the full programme guide | The one to use |
| M3U playlist link | Live channels only, no proper guide or categories | Only if your provider has nothing else |
The full setup, step by step
Right, onto the actual install. I am going to walk through it with IPTV Smarters as the player, because it is the one that repeatedly gets described as just worked by people who have been through the mess of dodgy boxes and forum links. The steps are the same shape for any player that takes an Xtream login.
Step 1: let the Firestick install apps from outside the Appstore
Amazon blocks apps that are not in its own shop by default, so the first job is to give the Firestick permission to install software from elsewhere. You only do this once and then forget about it.
- From the Firestick home screen, go to Settings (the gear icon at the far right of the top row).
- Scroll right and open My Fire TV.
- Select Developer Options.
- Open Install unknown apps.
- Find Downloader in the list and set it to ON.
A common snag here. On older firmware, Developer Options is sometimes hidden. If you cannot see it, go to My Fire TV then About, and tap the middle of the About screen seven times to reveal it. That hidden menu has confused a fair few people I have helped.
Step 2: install the Downloader app
Downloader is a free, legitimate app in the Amazon Appstore made by AFTVnews. It lets you type a short code or a web address and fetch a file, which is the cleanest way to load a player app without plugging a computer in.
- From the home screen, open the Find or Search icon (the magnifying glass).
- Type Downloader and pick the official app by AFTVnews.
- Open the listing and press Get or Download.
- Once it is installed, choose Open, and allow it to access files when it asks. That is a normal Android permission so it can save and run the file it downloads.
Step 3: download the player via a short code
Inside Downloader, the home screen has a URL bar. Rather than typing out a long address, you type a short code. Your activation email has the exact code or link for the player your provider recommends, so type that into the Downloader bar and press Go. Downloader turns the code into the right download and pulls the file automatically.
The player file is around 80 to 100 MB, so on a normal UK broadband connection it takes a minute or two. If the download stalls halfway, quit Downloader and put the same code in again. It picks up cleanly the second time.
Step 4: install the player
When the download finishes, Downloader asks you to install it. If it does not prompt, the file is sitting under Files then Downloader inside the app, and you can tap it there.
- On the install prompt, press Install.
- Wait for the progress bar to reach the end. This is the slowest part, usually two or three minutes.
- When it finishes, choose Done rather than Open. Downloader then offers to delete the install file, which keeps your Firestick storage tidy, and you open the player from your apps list afterwards.
Step 5: log in with your Xtream Codes details
This is the step that trips the most people, and it is nearly always a typo. Open the player, choose Add Playlist, then Login with Xtream Codes API. Do not pick the M3U option, even if you also have a playlist link, because the Xtream login is what gives you the guide and the categories in one shot.
Fill in three fields, exactly as they appear in your activation email, with no stray spaces at the start or end:
- Any name for this playlist: whatever you like. I use Home.
- Username: the username from your activation email.
- Password: the password from your activation email.
- Server URL: the server address we send, including the http:// or https:// at the start, exactly as written.
One quiet warning. Never share those three details around. They are tied to your line, and a login shared between too many people can get flagged for simultaneous use and suspended. They are yours alone.
Step 6: let the guide load, then test on a live match
Press Add User or Login. The player contacts the server, checks your line, and pulls down the channel list and the programme guide. The first load is the slowest because the guide for thousands of channels can take two to five minutes on a fresh install. Leave the app open on that screen and let it finish.
Once the dashboard appears, you will see Live TV, Movies, Series, and Guide. Have a click around, favourite the Sky Sports and TNT channels so they are easy to find on match day, and then do the one thing that actually tells you anything. Load a live game, not a replay, and watch right through kickoff and the final tense minutes. That is the only test that counts, and if you want the deeper breakdown of why streams wobble at peak time, the match-day setup in my Premier League streaming guide walks through the full stress test.
Set it up on the next match, free
Grab a 24-hour free trial with no credit card, load it on your Firestick with the steps above, and point it at the next big Premier League game on your own broadband. If it holds at kickoff, you keep it. If it stutters, you walk away having paid nothing.
Start My 24-Hour Free TrialThe three things that go wrong, and the fix
Almost every setup question I get comes down to one of these three. None of them mean the service is broken. They are all setup wrinkles, and they all have a clean fix.
| What happens | The real cause | The fix |
|---|---|---|
| App will not install, error about unknown sources | Step 1 was skipped or set for the wrong app | Go back to Settings, My Fire TV, Developer Options, Install unknown apps, and confirm Downloader is ON |
| Login fails with invalid credentials | A copy paste error, usually a trailing space or a missing http:// on the server | Type the username, password, and server URL by hand with no stray spaces, and include the http:// prefix exactly as in the email |
| Guide is empty or slow on first run | Normal. The first guide pull is big | Leave the app open on the dashboard for up to five minutes, then back out of a section and re enter it to force a refresh |
The invalid credentials one deserves a moment, because it accounts for most of the support messages. When you copy the server URL out of an email, it is terribly easy to grab a space at the end or miss the http:// bit, and the player then tells you the login is wrong when really it just cannot find the server. Type those three lines by hand if you have any doubt. It sounds tedious, but it is the single fix that clears the bulk of the failed logins.
Making it stable for match night
Once it is installed, a couple of small choices turn a flaky stream into a rock solid one. These are the tweaks I make on my own setup before a big game, and they are the difference between a smooth ninety minutes and a spinning wheel at the worst possible moment.
- Go wired if you can. A cheap USB ethernet adapter into the Firestick beats WiFi every single time for live streams. It is the one change that makes the biggest difference.
- If you are on WiFi, use the 5GHz band, not the crowded 2.4GHz one your neighbours are all sharing.
- Try a VPN on match nights if your ISP throttles heavy traffic. It is not magic, but it clears up a surprising number of mystery buffering cases.
- Clear the player cache before a big game so nothing stale gets in the way of a clean stream.
The one thing no amount of tweaking fixes is a provider whose servers are oversold. If thousands of people pile onto the same big match and the provider cannot take the load, your perfect home setup will still stutter. That is exactly why you test on a real match and not a quiet weekday, and it is why I will only run with a service that proves itself at kickoff. You can see exactly what a plan costs on the pricing page, and it is one flat number with no separate sports tax on top.
The honest bottom line
Setting up IPTV on a Firestick with an Xtream Codes login is genuinely one of the simplest things you will do this week, once you stop reading the forum threads that make it sound like hacking. Plug in the stick, grab Downloader, load a player, type in your three bits, let the guide populate, and test on a live match. Ten minutes, done.
The part that actually matters is not the install. It is whether the stream holds up when the match starts and half the country logs in at once. So get a free trial, run it through the next game on your own broadband, and let the picture make the argument for you. If it stays solid through kickoff, you have your answer. If it folds, you have lost nothing and learned everything you needed to know.